
Mastering Professional Book Layout Design
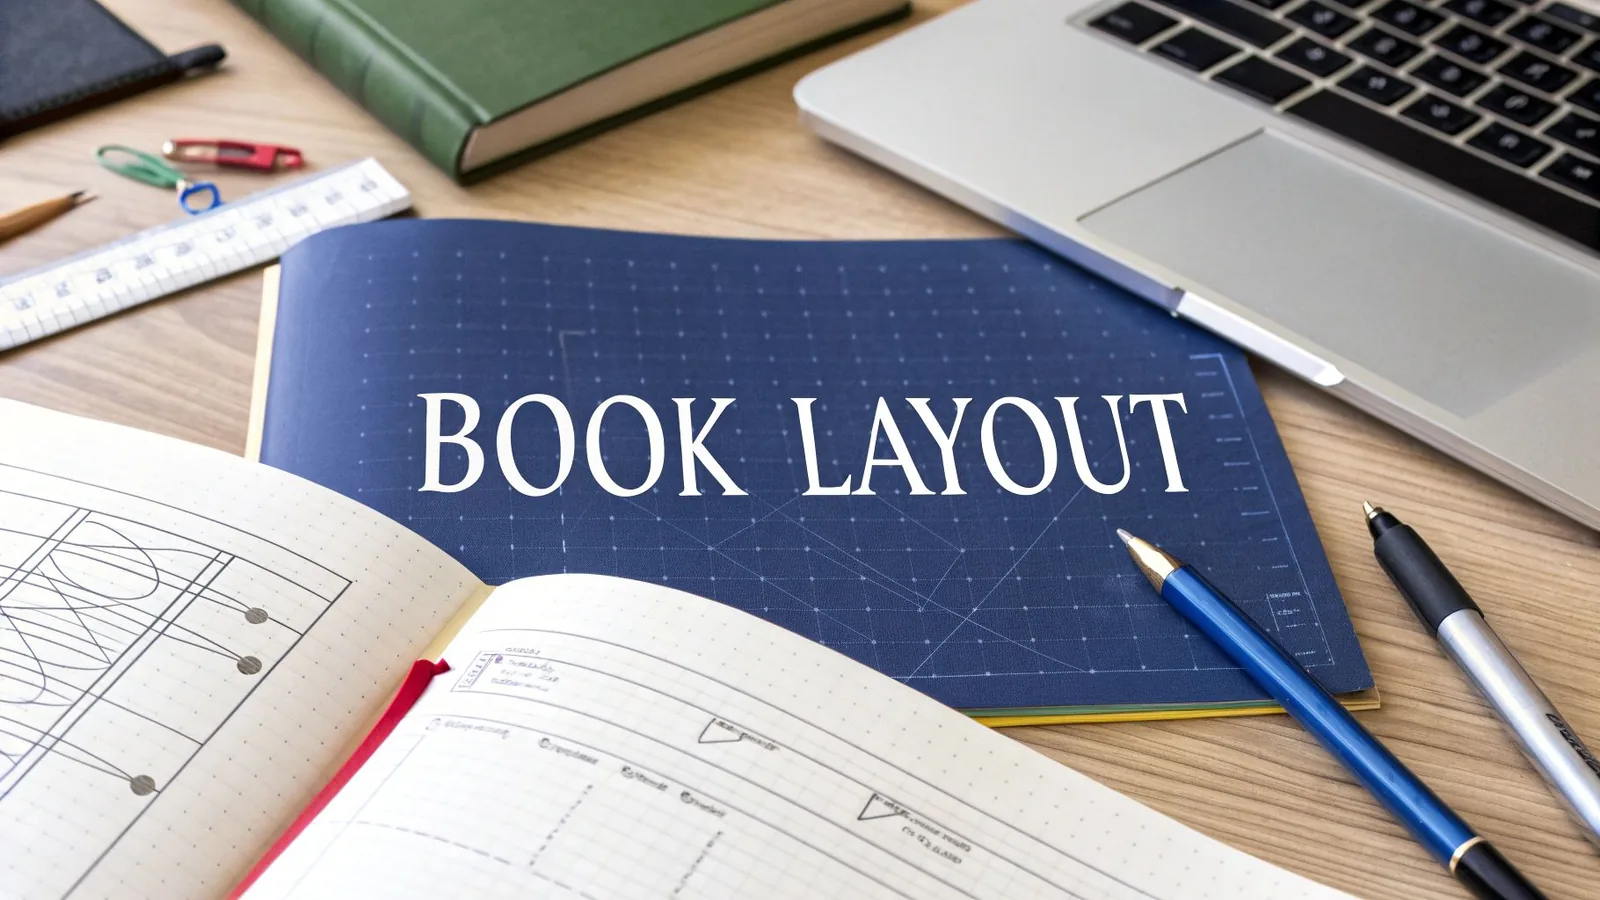
Book layout design is where the art of storytelling meets the science of typography. It’s the craft of arranging all the elements on a page (text, images, and even the empty space) to create a seamless and enjoyable reading experience. Think of it as the invisible architecture that turns your manuscript into a polished, professional book.
Why Great Book Layout Design Matters
The difference between a self-published book that looks amateurish and one that feels captivating often boils down to its interior design. A well-executed layout does more than just display your words; it guides the reader's eye, sets the pacing of the narrative, and builds a sense of authority that boosts your author brand. It’s the silent narrator working behind the scenes.
Every choice, from the font to the margins, directly shapes the reader's journey. Bad typography can literally cause eye strain, pulling someone right out of the world you’ve worked so hard to build. Cramped margins can make a book feel cheap and overwhelming, whereas thoughtful spacing can create a sense of calm and clarity.
The Foundation of Professionalism
At the end of the day, a polished interior tells the reader you care. When someone cracks open your book for the first time, the layout makes an immediate impression about the quality of your work. It's your first, best chance to establish credibility.
- Improved Readability: The right leading (the space between lines) and font choices make your text easy to read for hours on end, keeping your audience hooked.
- Enhanced Comprehension: A clear visual hierarchy, created with well-defined headings and chapter breaks, helps readers navigate your content and retain information.
- Increased Perceived Value: A professionally designed book simply feels more substantial and authoritative, which can easily be the deciding factor for a potential buyer browsing in a bookstore or online.
A great book layout is an act of service to the reader. It removes friction, making the experience of reading your words as seamless and enjoyable as possible. This silent partnership between design and prose is what creates a truly memorable book.
A Tradition of Deliberate Design
This focus on crafting reader-friendly pages is anything but new. The design of books has been a deliberate practice since the dawn of printing in the 15th century. Back then, the mechanics of the printing press itself heavily influenced layouts.
As the craft evolved, printers began applying mathematical principles like the golden rectangle to create harmonious and visually pleasing page proportions. If you're curious, you can dive deeper into the history of page proportions and see how these classical ideals still shape book design today.
Choosing Your Trim Size and Setting Margins
Before your story can truly take shape on the page, you have to decide on its physical home. The very first decisions you'll make in your book's interior design are choosing a trim size (the final dimensions of your printed book) and setting your margins. These choices are the foundation for everything else, impacting everything from how the book feels in a reader's hands to how much it costs to print each copy.
Think about the books on your shelf. A standard 6×9" trade paperback feels substantial, which is why it's a popular choice for non-fiction and literary fiction. In contrast, a more compact 5×8" size is common for novels because it feels lighter and more portable. Your trim size sends a subtle signal about your book's genre and target audience before a single word is even read.
A great way to get a feel for this is to just go to a bookstore. Pick up different books. See what feels right for the kind of story you've written.
Finding the Right Dimensions
Your trim size directly influences your final page count, which is a crucial factor for your budget. A smaller trim size naturally leads to more pages, and with print-on-demand services, more pages mean higher printing costs. It’s a constant balancing act between meeting genre expectations, ensuring reader comfort, and keeping production costs in check.
Here's a quick look at some of the most common trim sizes you'll encounter:
- 5" x 8" (12.7 x 20.32 cm): A go-to for novels and memoirs, this size is comfortable to hold and read for extended periods.
- 5.5" x 8.5" (13.97 x 21.59 cm): Often called "digest" size, it's another trade paperback standard that's versatile enough for a wide range of genres.
- 6" x 9" (15.24 x 22.86 cm): The workhorse for non-fiction, academic books, and many hardcover editions, thanks to its generous page space.
The table below is a quick reference for what readers in your category typically expect.
Common Trim Sizes by Book Genre
| Genre | Common Trim Size (Inches) | Best For |
|---|---|---|
| Fiction (Trade Paperback) | 5" x 8" or 5.5" x 8.5" | Standard novels, memoirs, and literary fiction. |
| Non-Fiction | 6" x 9" | In-depth topics, business books, and academic texts. |
| Children's Picture Book | 8.5" x 8.5" or 8.5" x 11" | Square or landscape formats to showcase illustrations. |
Remember, these are just common conventions, not rigid rules. But knowing them helps you make an informed decision that aligns with your readers' expectations. KDP prints every size in the table (KDP paperback submission guidelines, read November 20, 2026). For more on sizes by genre, see the guide on standard book sizes.
Setting Margins for Readability
Once you’ve locked in your page size, it’s time to frame your text by setting the margins. Margins aren't just empty space on the page; they are absolutely critical for preventing reader fatigue and making sure your words don't get swallowed by the book's binding.
Margins are the breathing room for your words. Generous, well-balanced margins signal quality and make the text appear more inviting and less intimidating to the reader.
Margins have four parts:
- Inside (Gutter): This is the most important one to get right. It's the space right next to the book's spine. If your gutter margin is too narrow, your readers will literally have to pry the book open to see the words closest to the binding. KDP sets a minimum inside margin by page count, from 0.375 inches at 24 to 150 pages to 0.875 inches at 701 to 828 pages (KDP paperback submission guidelines, read November 20, 2026).
- Outside: This is the margin at the outer edge of the page, the one their thumbs will be resting on.
- Top: The space above the first line of text, which might also include a running header.
- Bottom: The space below the last line of text, where you’ll typically find the page number.
Mastering Typography for Readability and Style
Think of typography as your book's voice. Long before a reader dives into the first chapter, the fonts you choose are setting the tone. Get it right, and the reading experience is seamless, almost invisible. Get it wrong, and even the most compelling story can feel like a slog.
Your mission isn't just to pick a "pretty" font. It's about creating a cohesive typographic system that guides the reader, makes the text easy on the eyes, and perfectly matches your book's personality.
Choosing Your Core Typefaces
The first big decision is picking the fonts for your body text and your headings. When it comes to printed books, there's a strong consensus: serif fonts are king for the main text. Those little strokes at the ends of the letters (the serifs) are believed to help guide the eye across the page, which makes a huge difference during long reading sessions.
There's a reason the classics are still around. They’re incredibly legible and have proven themselves over centuries.
- Garamond: An elegant, timeless choice that's a go-to for literary fiction and memoirs.
- Caslon: Known for its friendly and highly readable character, Caslon is a versatile workhorse for both fiction and non-fiction.
- Minion Pro: A more modern serif, Minion is clean, balanced, and just works beautifully in print.
For headings and chapter titles, you can let your creativity show a bit more. A fantastic and common practice is to pair your serif body font with a clean sans-serif font. The contrast is both beautiful and functional. Using something like Helvetica Neue or Futura creates a clear visual break from the main text, which helps build a strong hierarchy on the page.
The secret to good font pairing is contrast, not conflict. You want fonts that complement each other. Try pairing a serif with a sans-serif, or a modern font with a traditional one, but make sure their basic shapes and moods don't fight for attention.
Fine-Tuning Spacing for Comfort
The font you choose is only half the battle. The space between the letters and lines is arguably even more critical for a comfortable read. Two terms you'll need to get familiar with are leading and tracking.
Leading (pronounced "ledding") is the vertical space between lines of text. A common range is 120% to 145% of the font size (Practical Typography, read November 20, 2026). The book formatting guide gives the settings for Word.
Tracking adjusts the horizontal space between characters. Leave it alone for body text, because font designers have already tuned it.
For tools that apply good spacing for you, see the best book formatting software.
Structuring Your Content for Easy Navigation
A truly great book interior does more than just look pretty. It acts as a roadmap for your reader. The way you structure everything, from the very first page to the final index, is what creates a professional and intuitive reading experience. This internal architecture guides readers, tells them what's important, and makes your book a breeze to get through.
The reader's journey starts long before Chapter 1. The front matter is all the stuff that comes before your main text, and it's your first chance to set a professional tone. This is where you'll find the title page, the all-important copyright page, and often a table of contents, dedication, or foreword. Getting these pages right signals to the reader that they're in good hands.
In the same way, the back matter provides a satisfying conclusion to the experience. This section can house anything from an appendix or bibliography to a compelling author bio or even a sneak peek of your next book. Think of the front and back matter as the sturdy bookends that hold your core story together.
Building a Strong Visual Hierarchy
Nothing makes a reader put a book down faster than a dense, confusing wall of text. You need to create a clear visual hierarchy to guide their eyes, and that’s where headings are your best friend. By using different font sizes, weights, and spacing for your chapter titles, main subheadings, and smaller section breaks, you create a visual language that instantly communicates importance.
A simple approach:
- Chapter Titles (H1): These need to be the biggest, boldest element on the page. Use a much larger font size, a heavier weight, or even a completely different typeface to make them impossible to miss.
- Subheadings (H2): These break up your chapters into major sections. They should stand out from the body text but clearly be secondary to the main chapter title. Often, just making them a point or two larger and bolding them is all you need.
- Lower-Level Headings (H3): For smaller breaks within a section, these are perfect. A simple bold or italic treatment usually does the trick without disrupting the reader's flow.
This kind of structure makes your text instantly scannable, which is a massive plus for non-fiction, where readers often jump around to find specific information.
Keeping the Reader Grounded
Once someone is deep into a chapter, you need to give them subtle signposts to keep them oriented. That’s the job of running heads and page numbers. Running heads are those little lines of text you see at the top of a page, usually showing the book title on one side and the author's name or current chapter on the other.
The key here is to make them functional but unobtrusive. Set them in a smaller font size and place them well inside the top margin so they don't distract from the main story.
Page numbers, or folios, are an absolute must. Whether you place them at the bottom center or on the outside corners of each page, the most important thing is consistency. A rookie mistake is leaving page numbers on blank pages or full-bleed images. It’s a small detail, but removing them is one of those tiny professional touches that makes a world of difference.
Integrating Visuals and Finalizing Your Files
Images, charts, and illustrations can take a good book and make it great, but they come with a strict set of technical rules. A beautiful photo that looks stunning on-screen can turn into a pixelated, discolored mess in print if the files are not handled correctly. This is the final technical hurdle in book layout, and precision is everything.
The most important rule for print is image resolution. Your images must be 300 DPI (dots per inch) at the exact size they will appear in the book; KDP sets 300 DPI as the minimum (KDP paperback submission guidelines, read November 20, 2026). A 72 DPI image you grabbed from a website might look fine on your monitor, but it will look blurry and unprofessional on a printed page. It’s a non-negotiable standard for quality printing.
Color Spaces and File Formats
Another area where authors often get tripped up is color space. Your computer screen and digital camera use RGB (Red, Green, Blue) light. Color printing uses CMYK (Cyan, Magenta, Yellow, Black) ink, and a color on a monitor will look slightly different in print (IngramSpark File Creation Guide, read November 20, 2026). The print-file section of the book formatting guide says which color mode each kind of book needs.
When it comes to the right file formats, here is a quick breakdown:
- JPEG: This is your go-to for photographs. It uses compression to keep file sizes manageable, but always save it at the highest possible quality setting to avoid any weird-looking compression artifacts.
- TIFF: Ideal for high-quality graphics and illustrations, especially anything with sharp lines or text. TIFF uses lossless compression, which means no quality is lost in the process.
- PNG: Use this format for graphics that require a transparent background.
The golden rule here is to give your printer the best possible source material. You can always downsample a 300 DPI image, but you can never magically add detail back into a low-resolution file.
Exporting Your Final Files
Once your text is polished and your visuals are perfectly placed, it’s time to create the final files for distribution. This isn’t a one-and-done export; you’ll need two distinct files: one for print and one for digital.
For your print edition, you'll export a print-ready PDF. This is more than just a standard PDF from Word. Your design software has export options for the print file:
- Bleed: If any image or color block touches the edge of the page, it must extend 0.125 inches beyond the final trim line. This "bleed" gives the printer a small margin of error, ensuring no ugly white slivers appear after the pages are cut. KDP trims 0.125 inches from the top, bottom and outside edges of every page, so bleed artwork must extend that far past the trim on those edges (KDP, Set trim size, bleed, and margins, read November 20, 2026).
For your ebook, you’ll be exporting a reflowable EPUB file. The key word here is reflowable. Unlike a static PDF, an EPUB allows your text and images to automatically adjust to different screen sizes and reader preferences, like font size. If you want to really dig into creating clean, adaptable files, the book formatting guide covers clean, adaptable ebook and print files.
Your Top Book Layout Questions, Answered
Jumping into book design can feel like learning a new language, with a ton of technical jargon and conflicting advice floating around. Here are some of the most common questions authors ask. The goal is to give you the confidence to make smart, informed decisions for your book's interior.
Think of it this way: the right tools can make or break your project. While you can technically get a book finished with basic software, your choice directly affects how professional the final product looks and feels.
What’s the Best Software for Book Layout?
If you're aiming for a book that looks like it belongs in a bookstore, the usual choice is Adobe InDesign. Affinity's page-layout app is free, and it needs a free Canva account (Affinity, read November 20, 2026). Prices, platforms and which tool fits which book are in the best book formatting software comparison and the book formatting guide.
How Do I Choose the Right Font for My Book?
When it comes to the main body text of your book, there's one golden rule: readability trumps everything. You want a font that’s invisible, one that lets the reader sink into the story without being distracted.
For print, a classic serif font is almost always the right call. Those little "feet" on the letters, the serifs, are believed to help guide the eye along the line, which is why they are the usual choice for long reading sessions.
Here are a few workhorses (more in popular book fonts):
- Garamond: Elegant, classic, and perfect for literary fiction or a thoughtful memoir.
- Caslon: A bit warmer and friendlier, making it incredibly versatile for both fiction and non-fiction.
- Minion Pro: A modern and highly legible serif that just works beautifully on the printed page.
For your chapter titles and other headings, you can create a nice visual contrast by pairing your serif body font with a clean sans-serif like Helvetica Neue or Futura. Always print out a test page. A font can look completely different on paper than it does on your screen.
What's the Difference Between a Print Layout and an Ebook Layout?
This is a big one, and new authors often get it wrong. The core difference is simple: a print layout is static. You decide exactly where every word, image, and page number sits on a fixed-size page, and it will never change.
An ebook layout, on the other hand, is reflowable.
A reflowable layout means the text and images have to flow and adapt to fit countless screen sizes and reader preferences, like when someone decides to triple the font size on their Kindle. You’re designing for flexibility, not a fixed canvas.
Because of this fundamental difference, you absolutely need two separate files. One is meticulously designed for print, and the other is optimized for a seamless digital experience.
Ready to lay out your book?
Talk to a real publisher first. You leave the call with your exact price for your book.
More on getting your book taken seriously.
Picture book format: a complete 2026 guide
The 32-page rule, trim size, bleed, gutter, image resolution, type and fixed-layout ebooks for a picture book.
Recipe template for Pages: design your 2026 cookbook
Set up a cookbook in Apple Pages: trim and margins, styles, grids, images, and the print and eBook exports.
Formatting an illustrated or complex book
Why images and tables break reflowable ebooks, when fixed layout is the right answer, and what complex work costs.